How To Make A Pinhole Projector To Safely View A Solar Eclipse
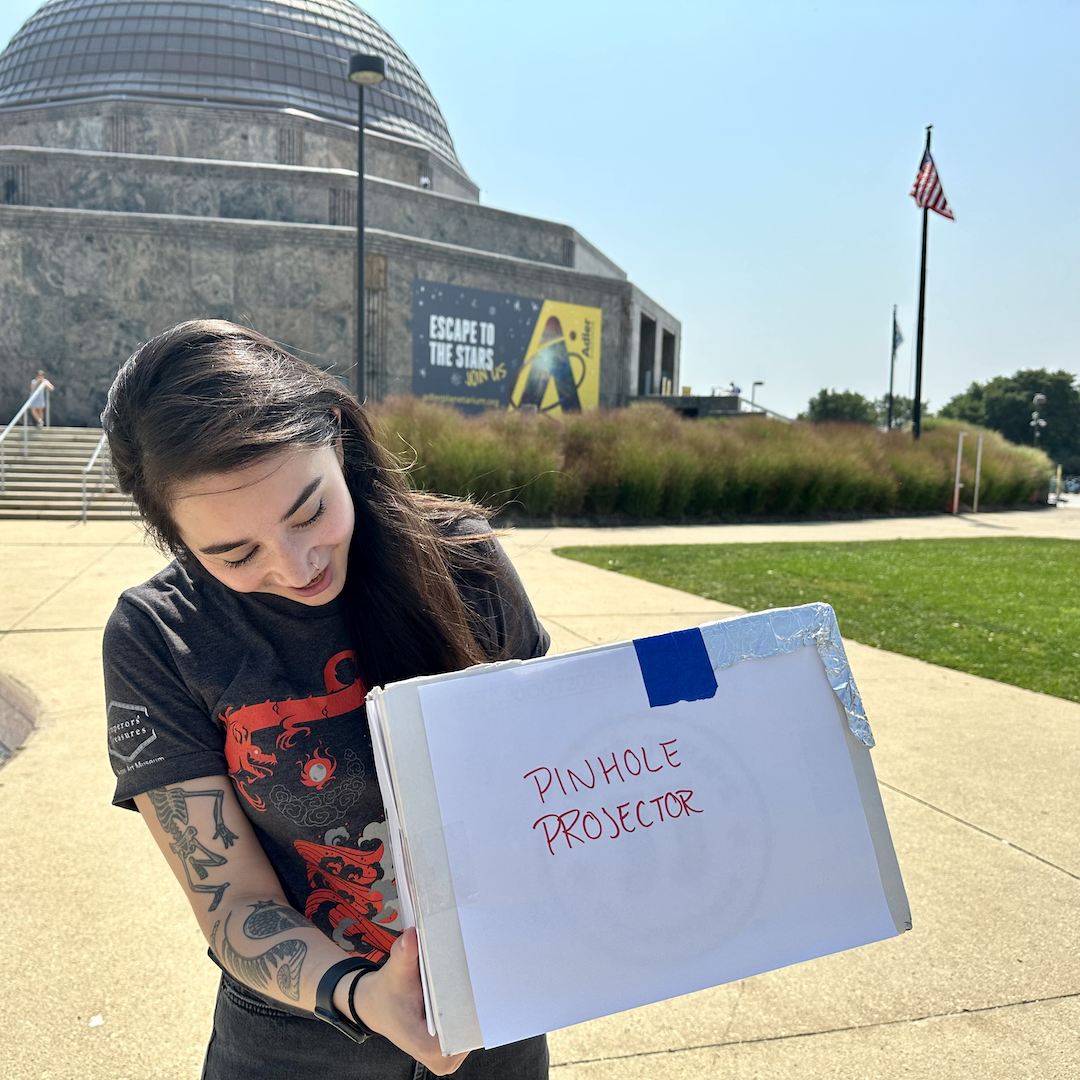
Header Image: A person stands in front of the Adler Planetarium, holding a homemade pinhole projector to safely observe the Sun without solar viewers.
We all want a peek at the upcoming solar eclipses, but whenever any of the un-eclipsed, partially-eclipsed, or annularly-eclipsed Sun is visible, you will need safe solar viewers to look directly at it.
If you don’t have solar viewers—or are just looking for a fun, science activity—a pinhole projector will allow you to safely observe the upcoming solar eclipses on October 14, 2023 and April 8, 2024!
Try out this simple, all-ages, STEM-based craft to safely view the upcoming solar eclipses!
What is a Pinhole Projector?
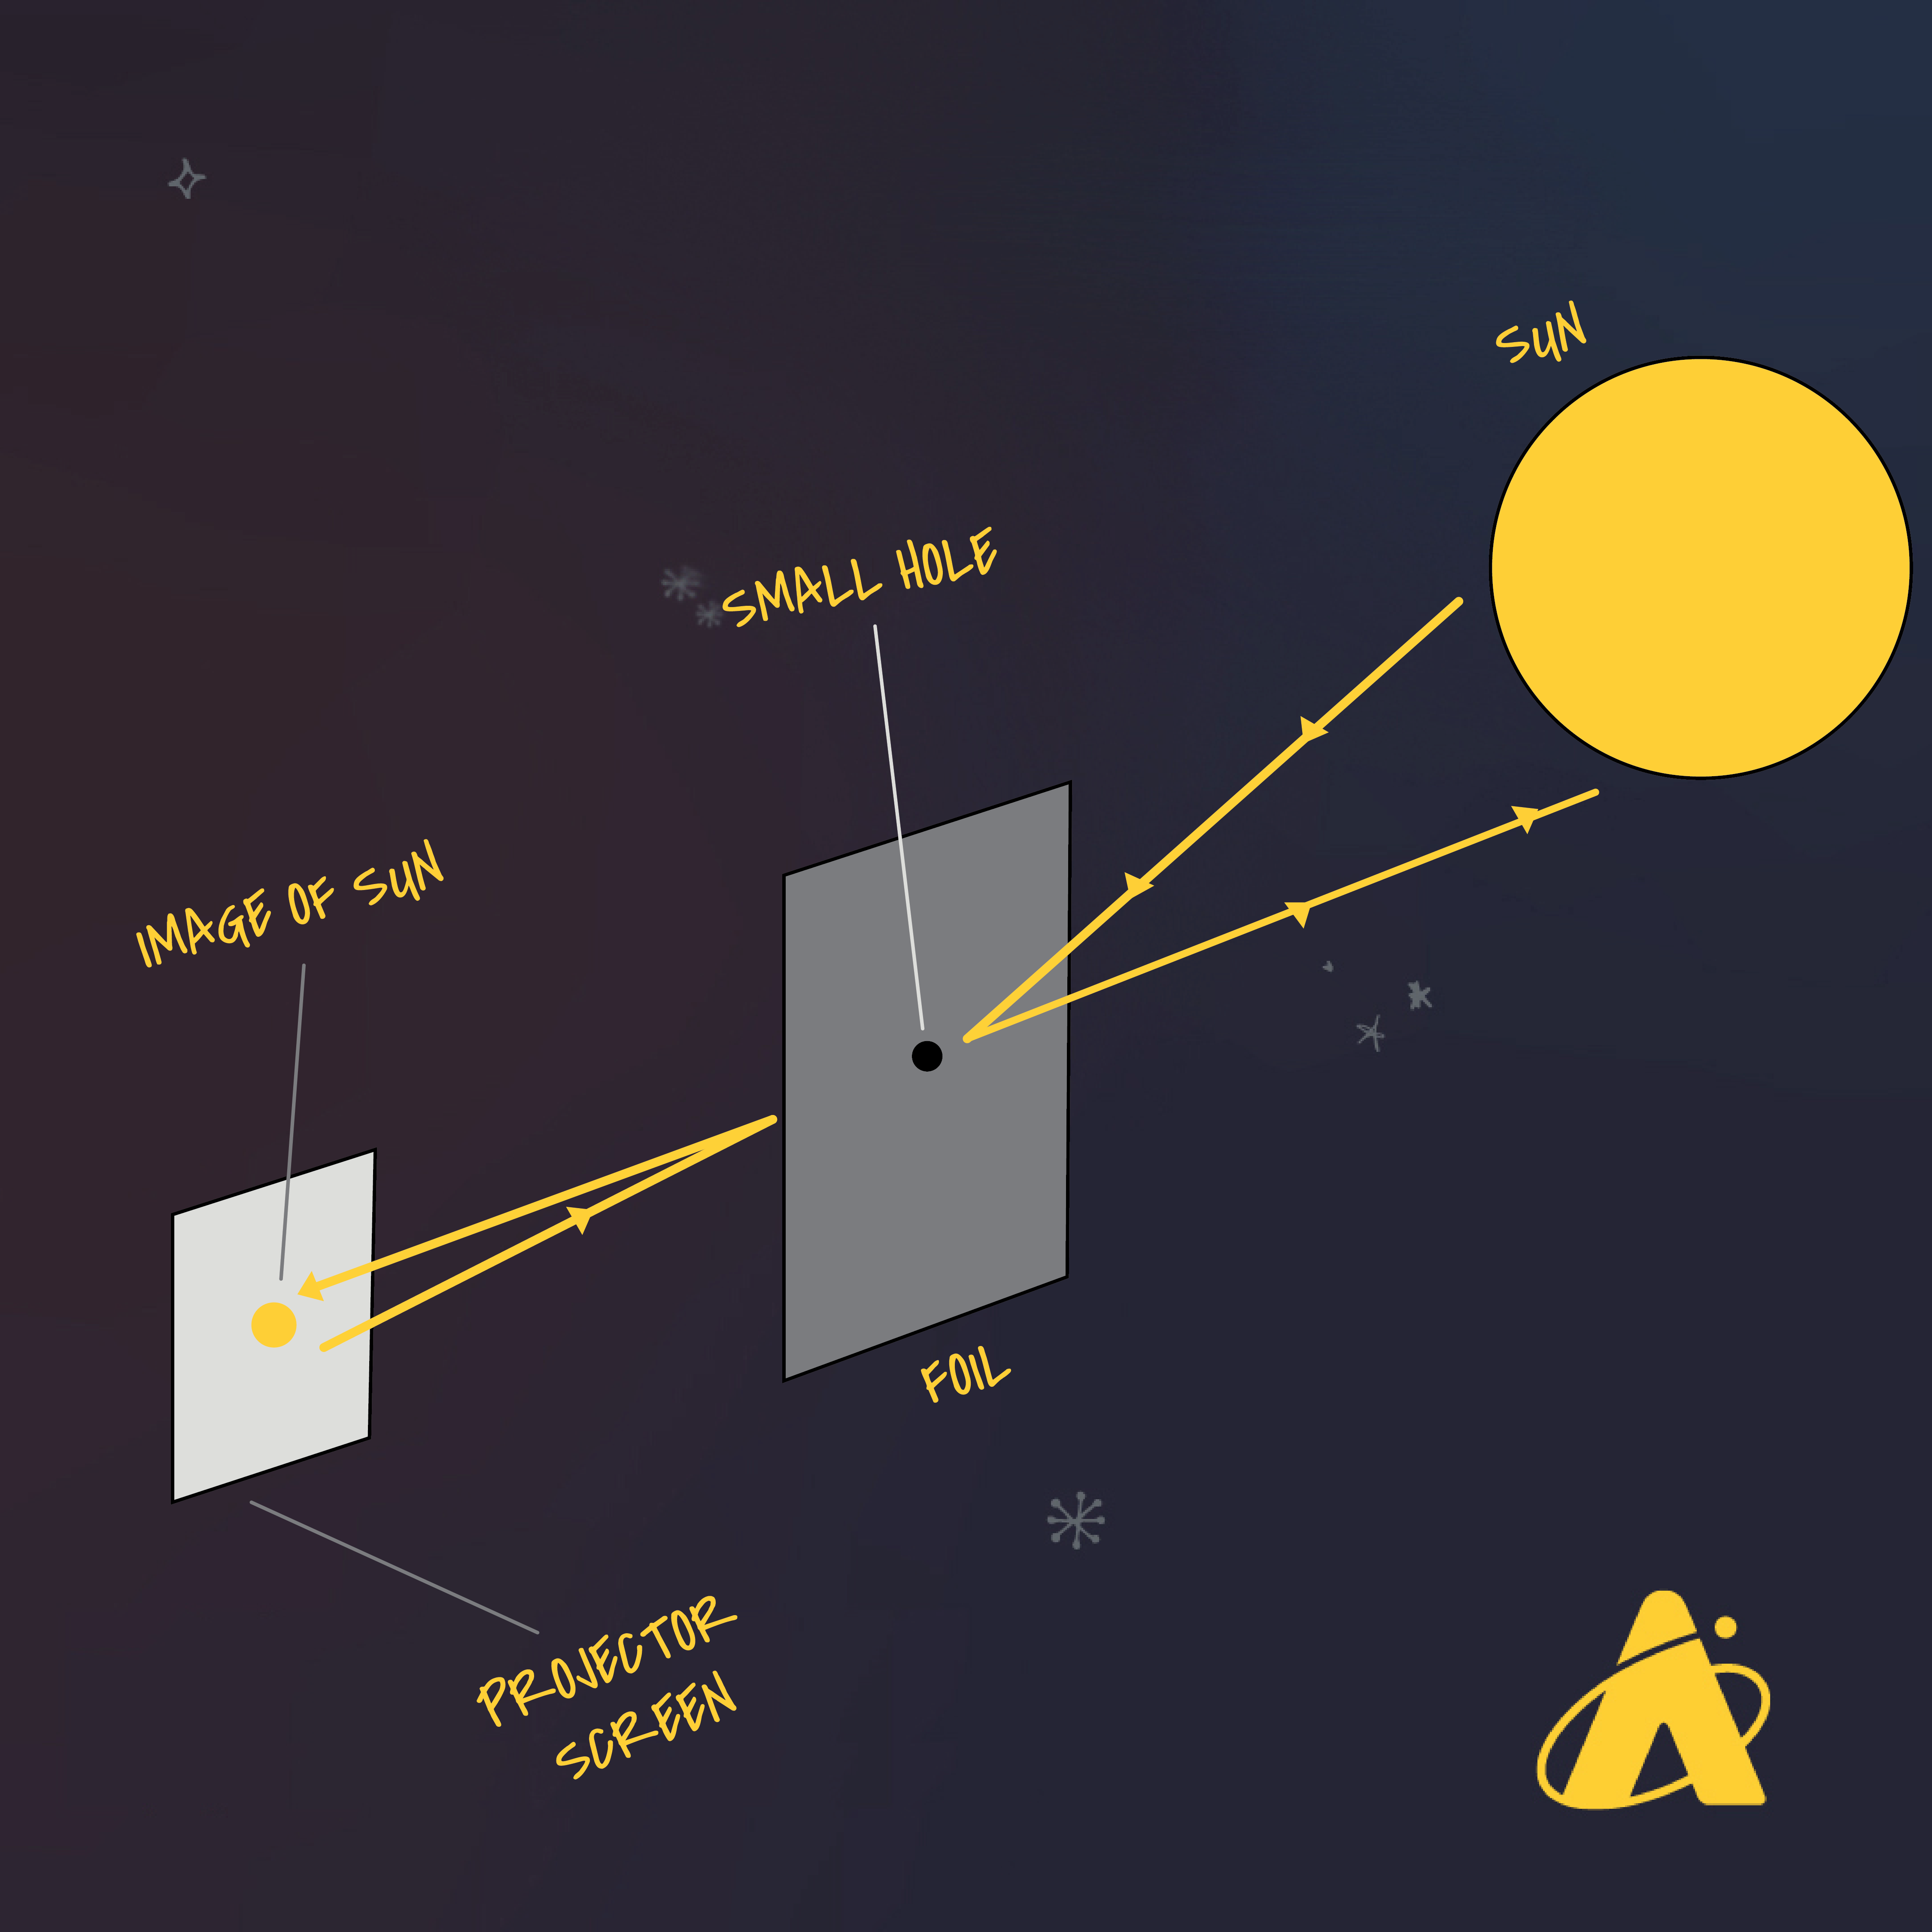
A pinhole projector projects an image through a small hole in an object, onto a surface, allowing you to safely observe light, like the Sun! You can project the light onto a wall, the floor, or a surface on the inside of your pinhole projector.
How to Make a Pinhole Projector

Step 1. Gather your supplies. To build this pinhole projector, you will need:
- A cardboard box
- Scissors/box cutter
- Tape
- A white piece of paper
- A piece of aluminum foil
- A small nail, paper clip, or pin—something to punch a hole in the foil
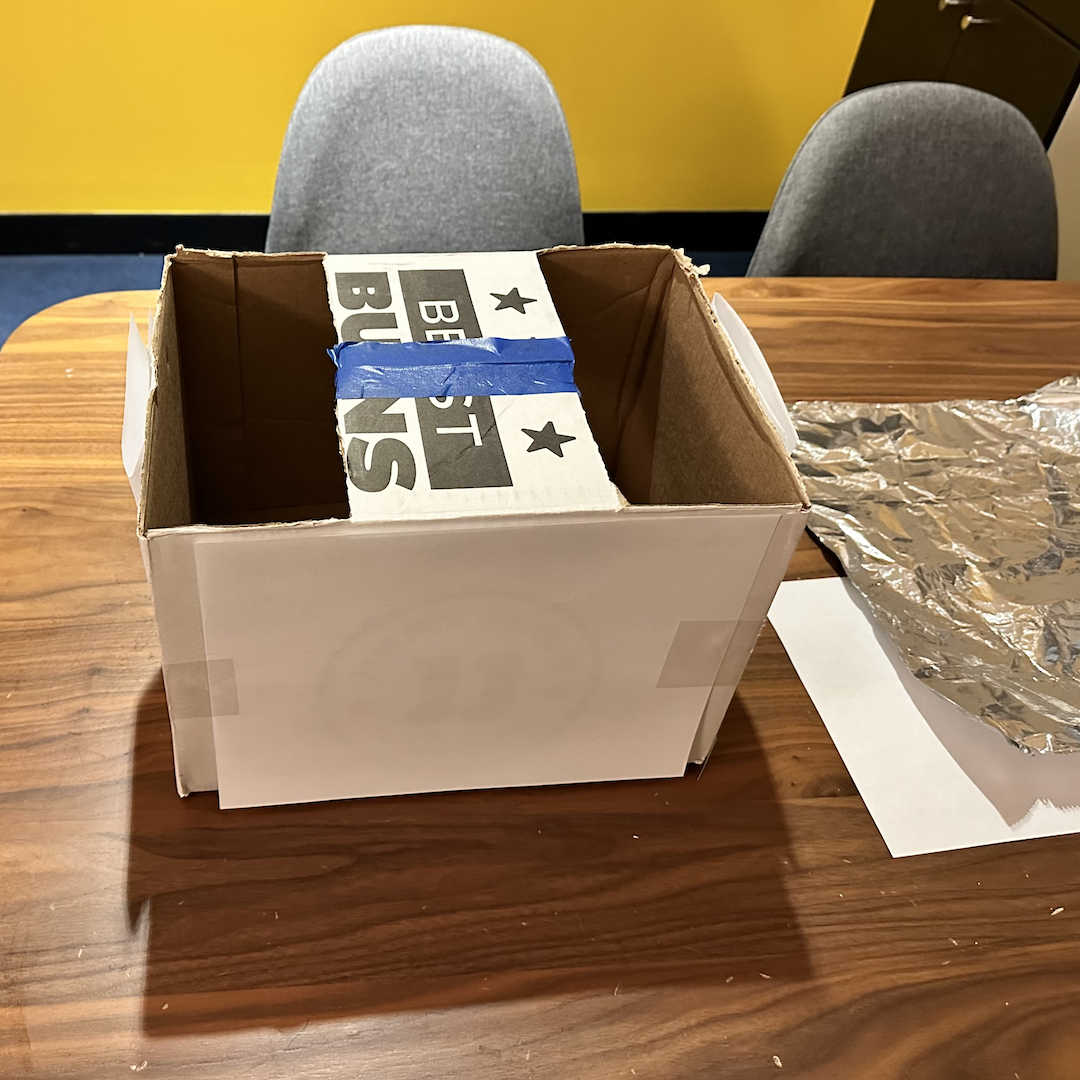
Step 2. On the open-end of the box, cut off the smaller side flaps. Cut the edges off the longer tabs, creating two open spaces on either side of the top of the box. Tape remaining flaps together.
Optional: If the inside of your box is not white, we recommend taping a white piece of paper on the bottom for better observing.
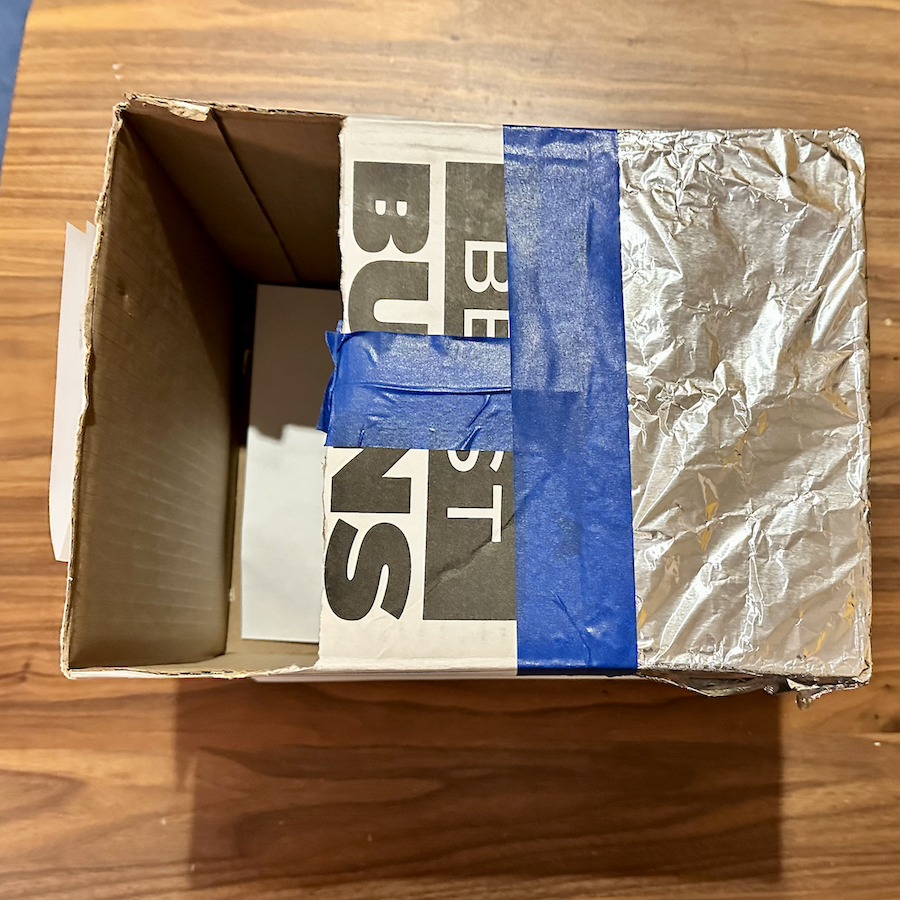
Step 3. Grab your aluminum foil. Make sure that the foil is large enough to cover one of the openings on the top of the box. Using your tape, securely attach the foil to the top of the box, completely covering one, open side.
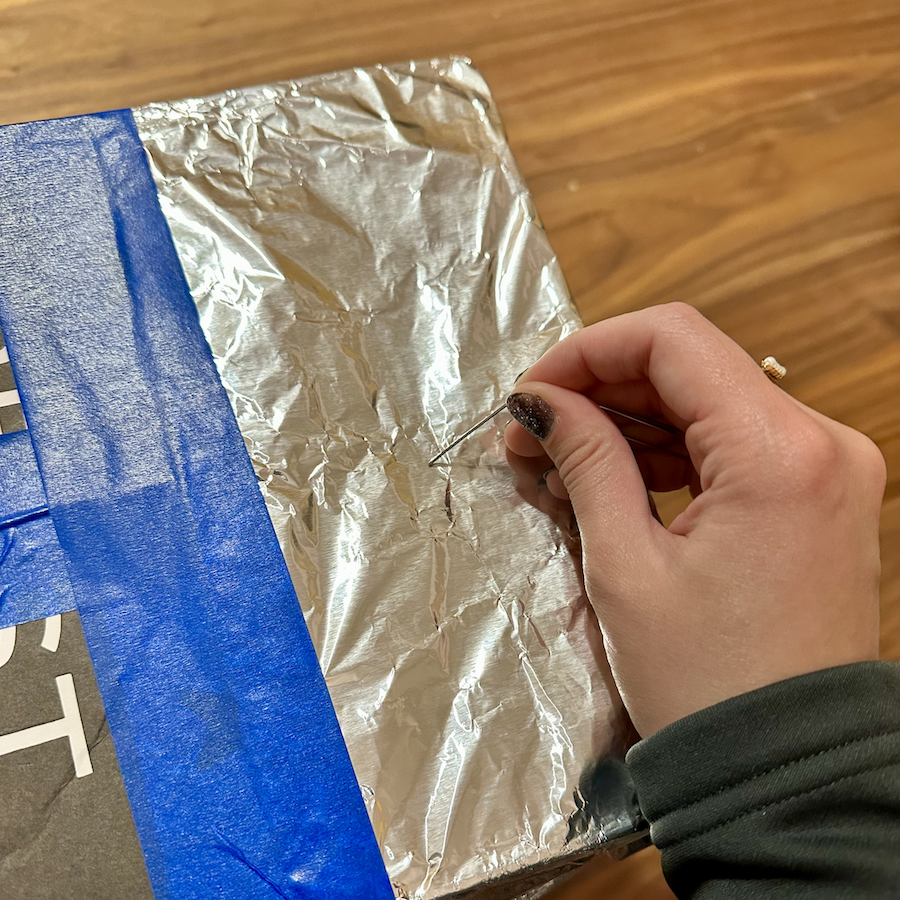
Step 4. Using a paperclip, small nail, or pin, poke a small hole in the center of the aluminum foil. This hole will create a lens! Feel free to play around with the size of the hole.
Voila! Your homemade Sun observing tool is complete!
To use it, stand with the light source behind you. Angle the projector so that the light shines on the foil—you may have to play with your position to get it just right. Look into the open end of the box—you will see a projection of the light source!
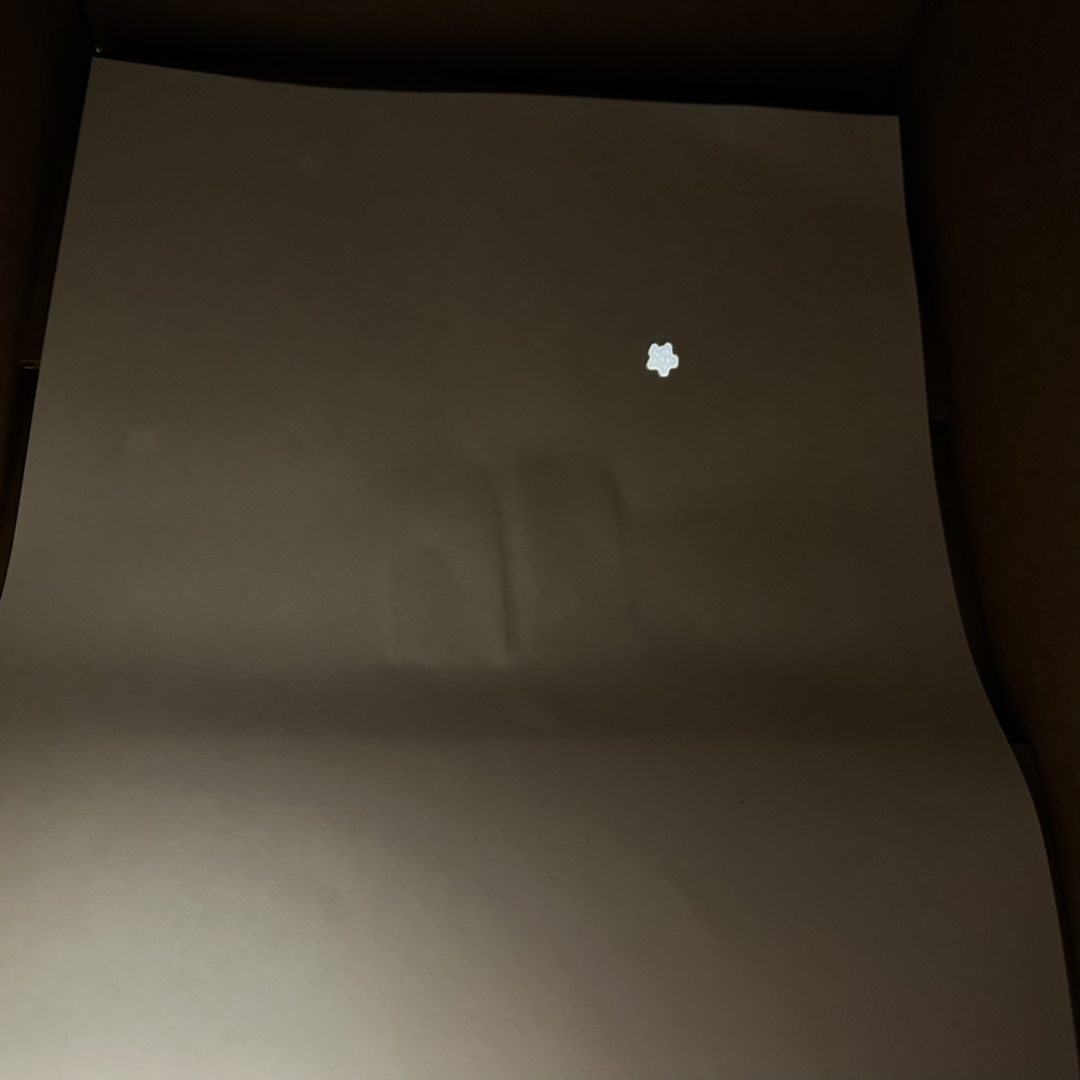
We tested it out with the overhead light in our office and learned that our light bulbs are shaped like stars! Can you see the star shape projected through the pinhole projector?
Learn From Our Astronomy Educators
Our astronomy educator, Michelle Nichols, built her very own pinhole projector and explains the science behind it! Michelle’s projector looks a little different from ours, which just goes to show that there is no “right” way to build a pinhole projector! It can be as simple, or as complex as you’d like.