Grab Your Supplies, It’s Stomp Rocket Time
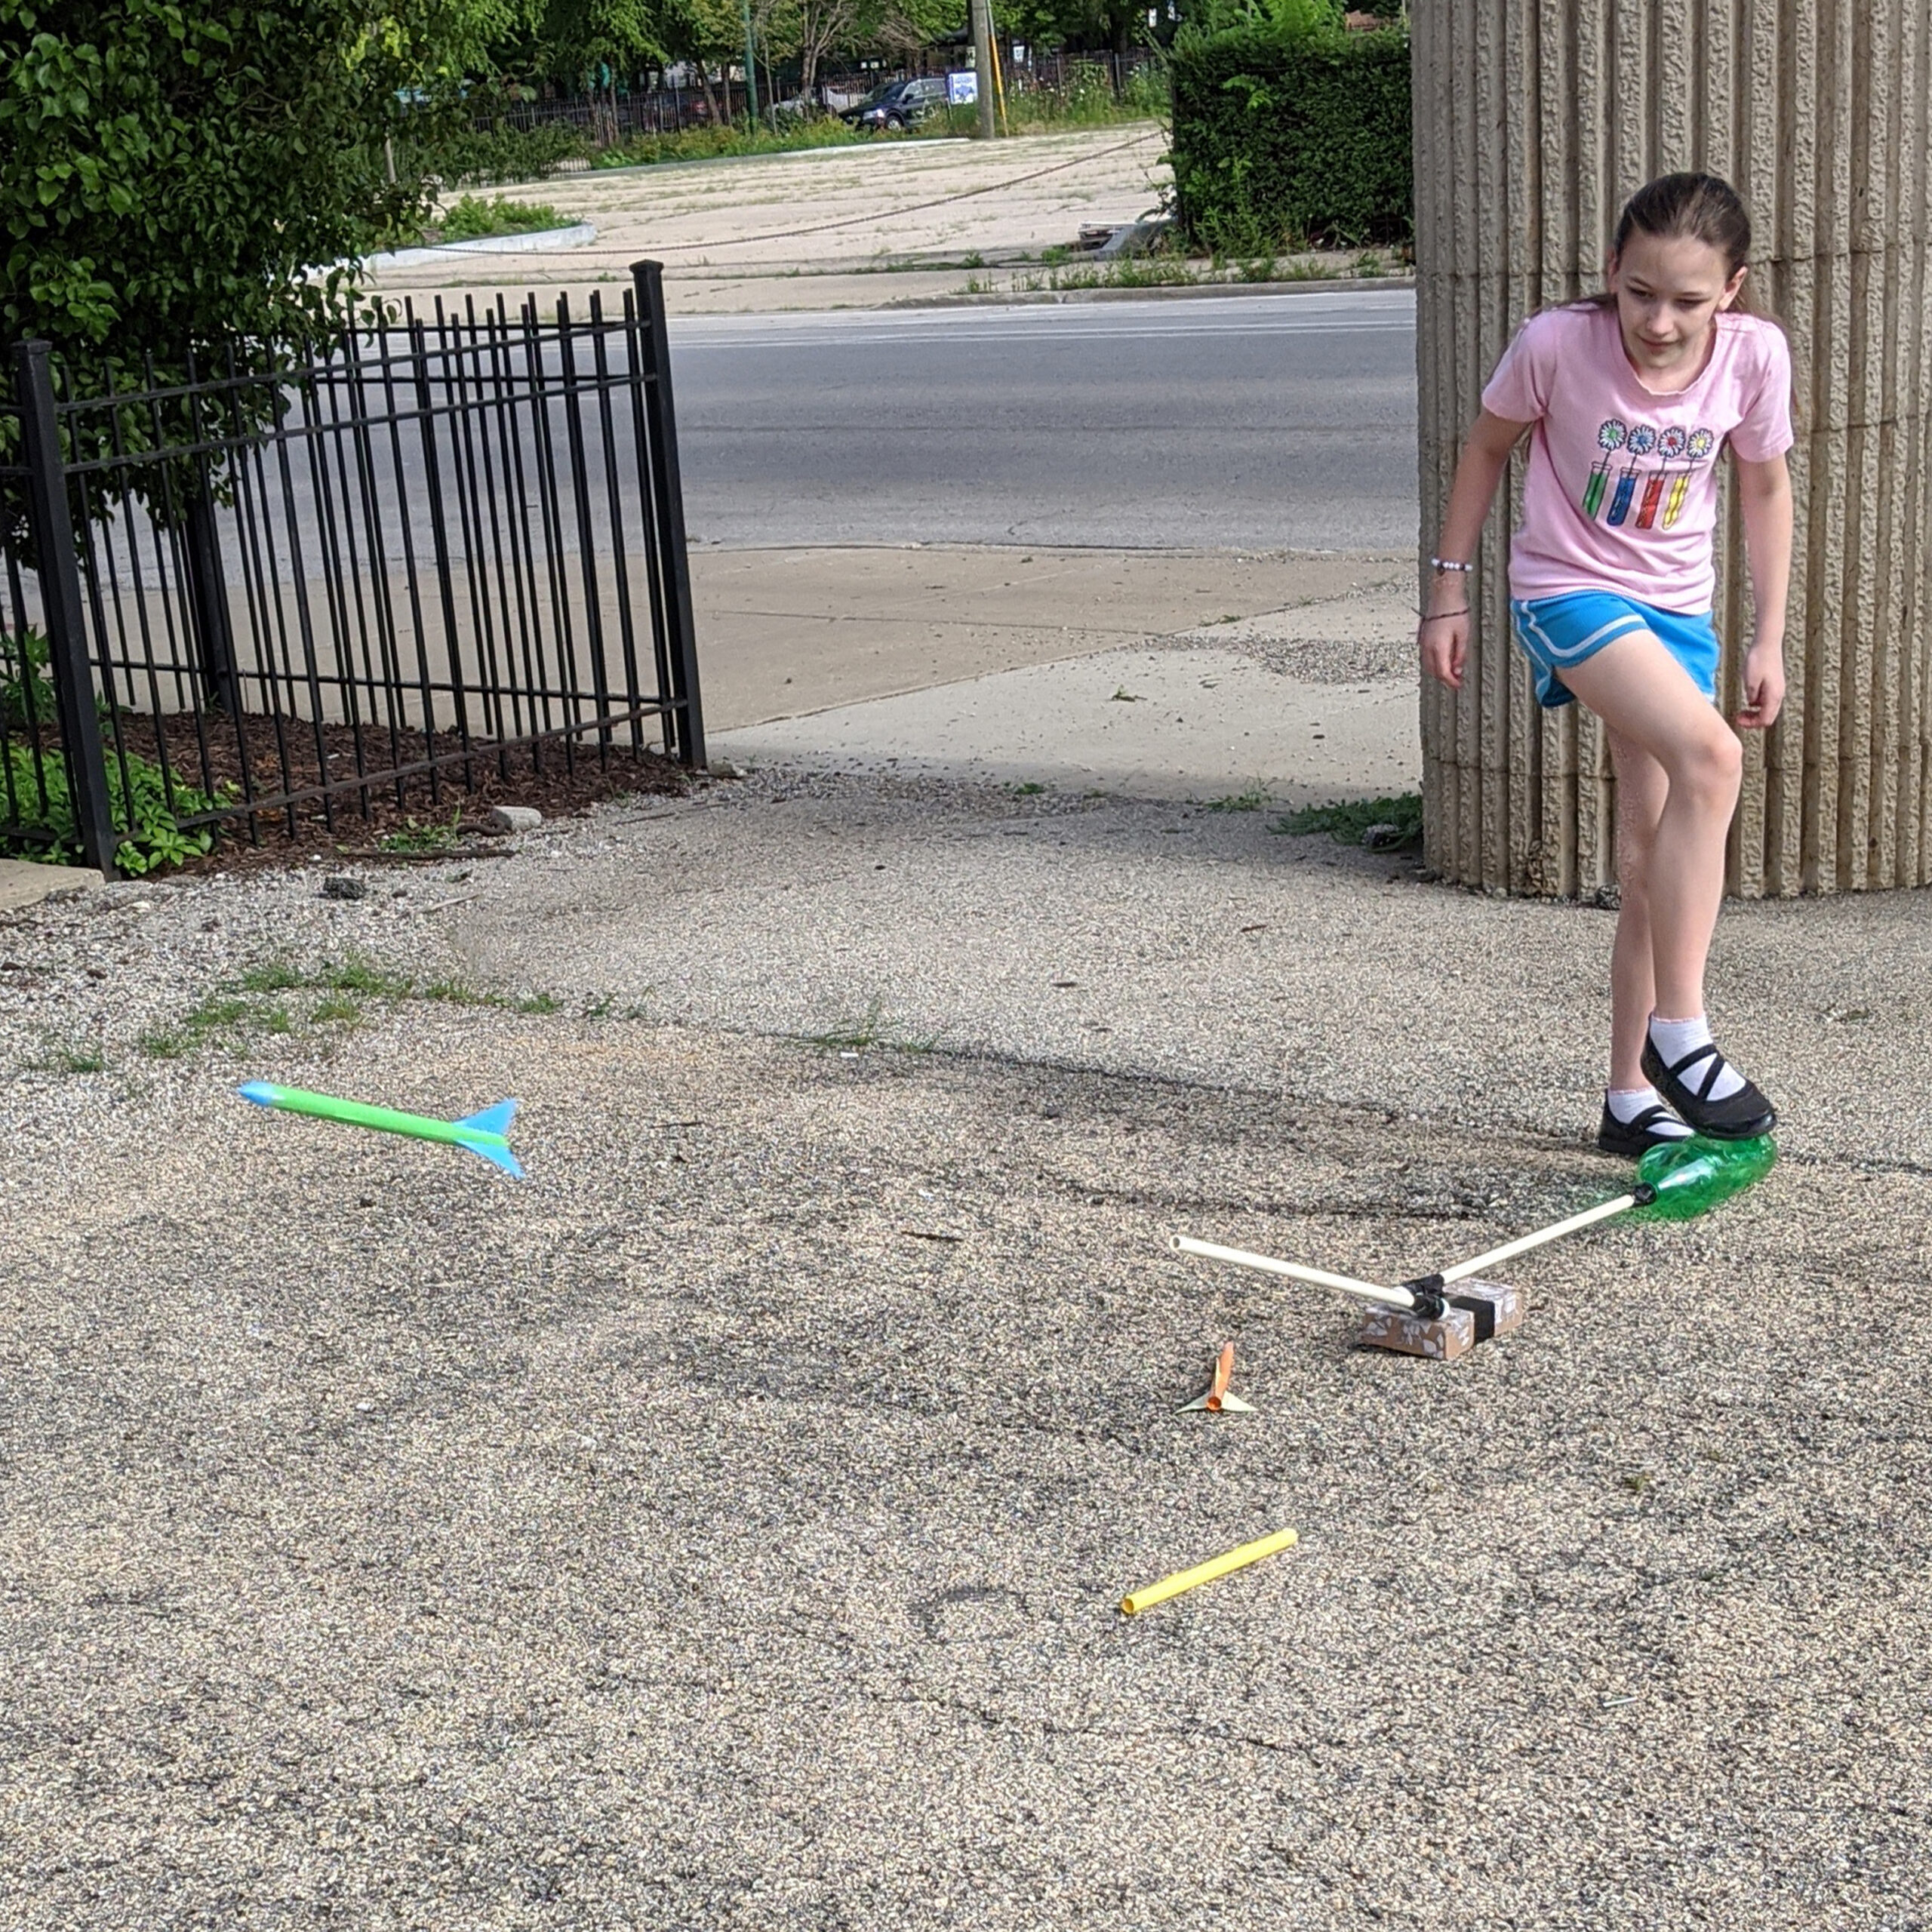
Header Image: Make your own stomp rocket and stomp rocket launcher with supplies from around your house and launch it outside!
When I’m looking to combine a little bit of learning with a lot of fun, stomp rockets are my go-to. As the Manager of Program Development, I include them in Adler’s camp activity list every year and they make frequent appearances at home with my daughter too. There’s a kit you can buy that sends you everything already pre-made, and that’s good and quick…but where’s the fun in that? Build your own stellar do-it-yourself stomp rocket and launcher and blastoff into the cosmos with your family.
You will need:
You may already have these supplies at home, but if not, any hardware store will have the launcher pieces. You may even be able to order online!
Launcher

- 2 liter bottles (multiple- they will break over time!)
- Two ½” PVC pipes, 1-2’ long
- Two ½” PVC elbows (threaded)
- Duct or electrical tape
- A base to keep the launcher steady. This will be something you find at home (a book, box, brick, etc)
Rocket
- Construction and/or printer paper
- Scissors
- Masking or transparent tape
- (Optional) Markers, stickers, or other means of decoration
- (Optional) An extra piece of ½” PVC pipe
- (Optional) paper clips or other “payload” objects
Let’s build! Step By Step Instructions
If your PVC pipe is smaller than the bottle opening or the elbows, wrap tape around it until it fits snugly.
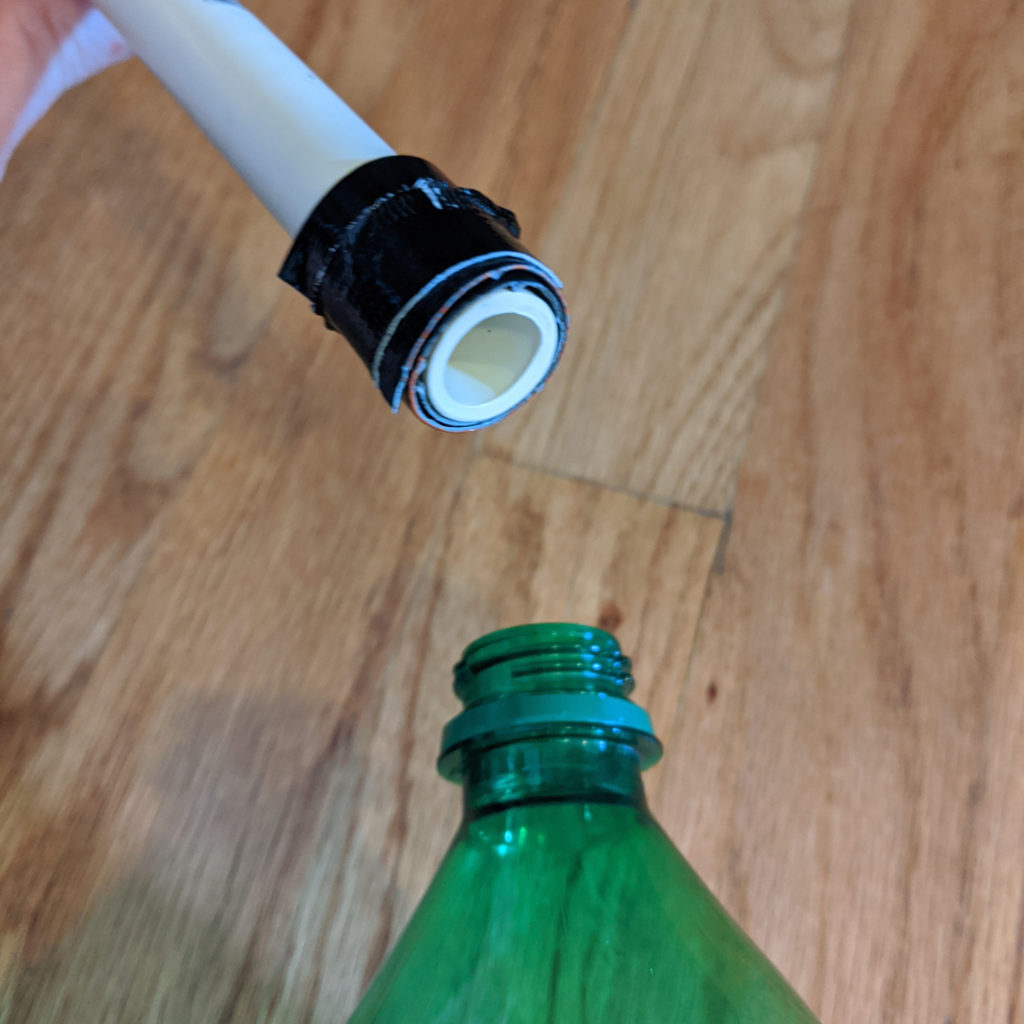
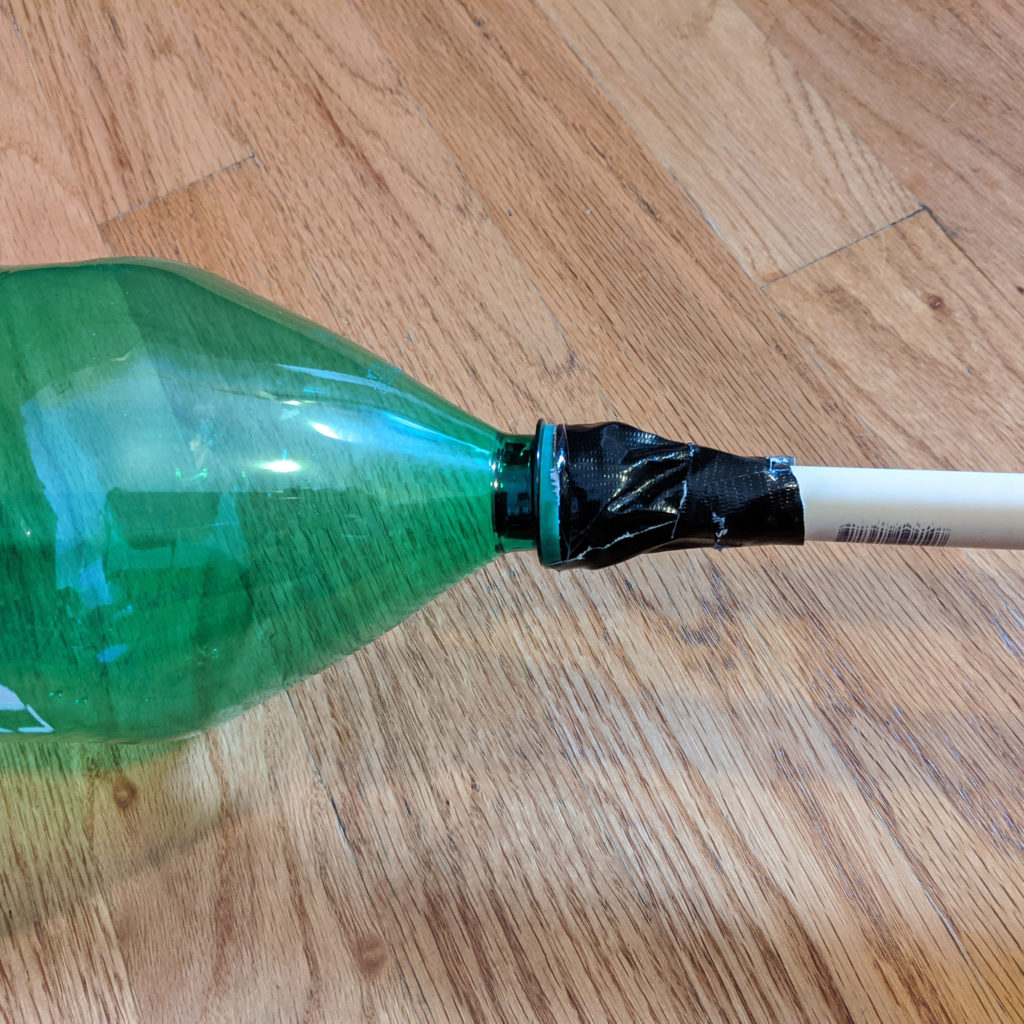
Insert the first inch of a piece of PVC pipe into the 2 liter bottle and tape them together. Any time you use tape, the point is to make as close to an air-tight seal as possible, but here, you will want to use only as much tape as gets the job done. You’ll need to replace the bottle eventually and will thank yourself when you can separate it without too much hassle.
Connect an elbow piece to the end of the PVC pipe and tape them securely.
Connect the second elbow to the first, but don’t tape them together! This is how you’ll adjust the launch angle. Connect the second piece of PVC to the elbow and tape them securely.
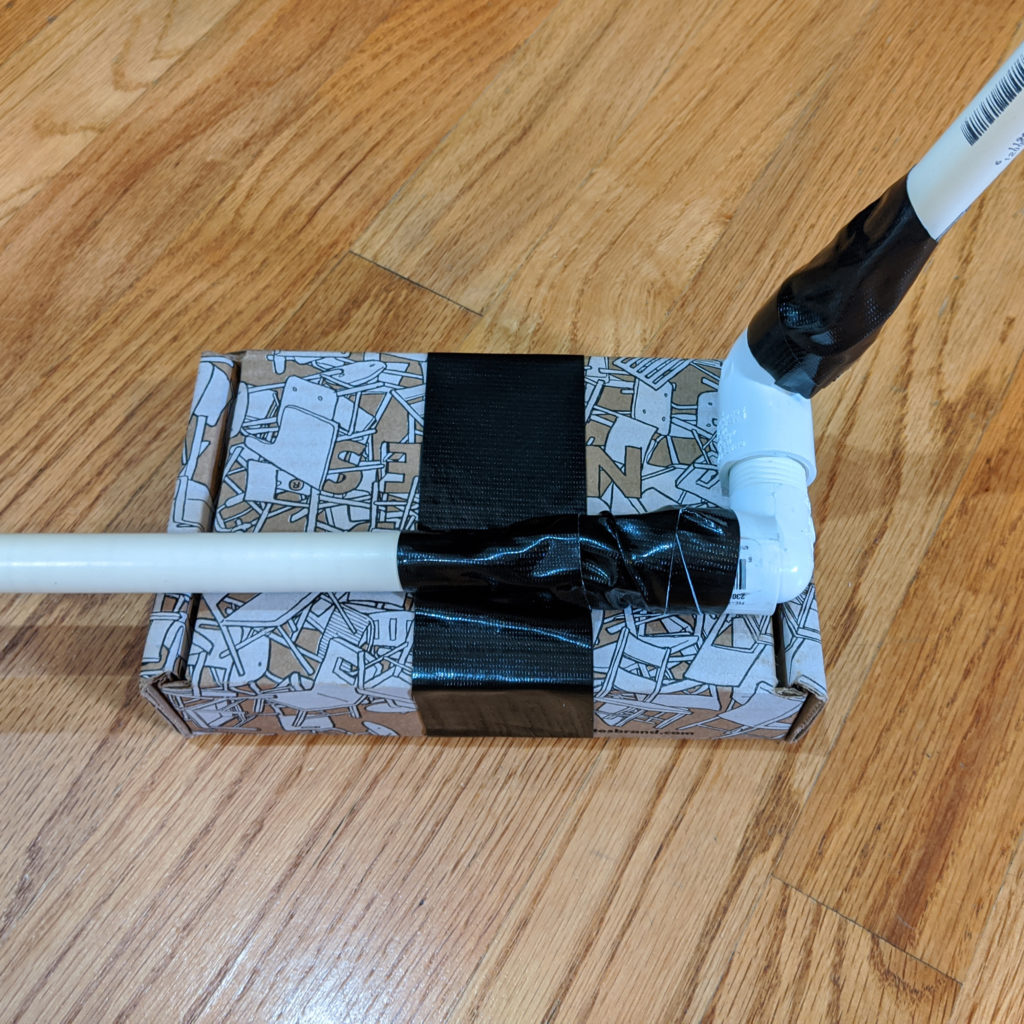
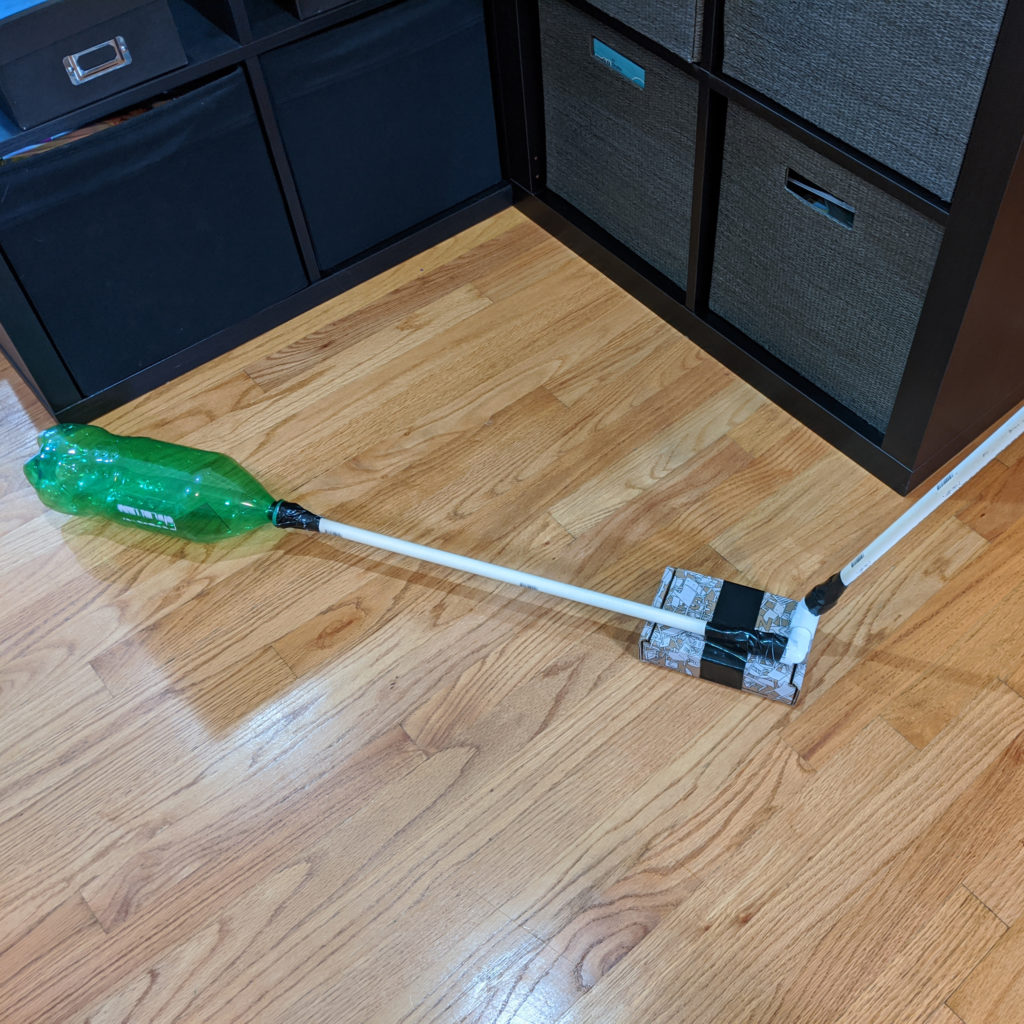
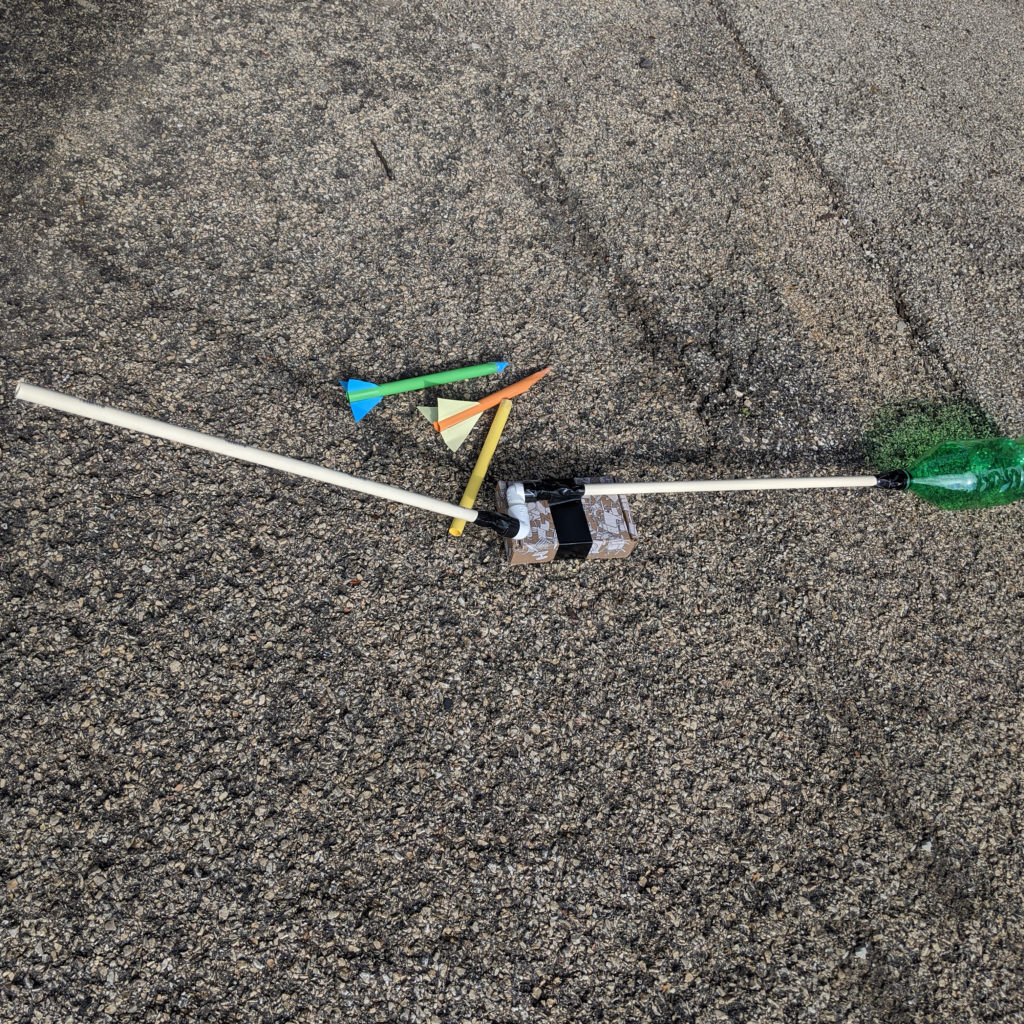
You have a launcher! The last step for the launcher is to find a base to put under the first tube to hold the launcher steady. If possible, tape the launcher to the base.
A launcher is no fun without a rocket! There are lots of engineering and design choices to make: Short body or long? Fins, wings, or neither? A nose cone or a flat nose? What kind of paper? Each decision will impact how your rocket flies. Experiment!
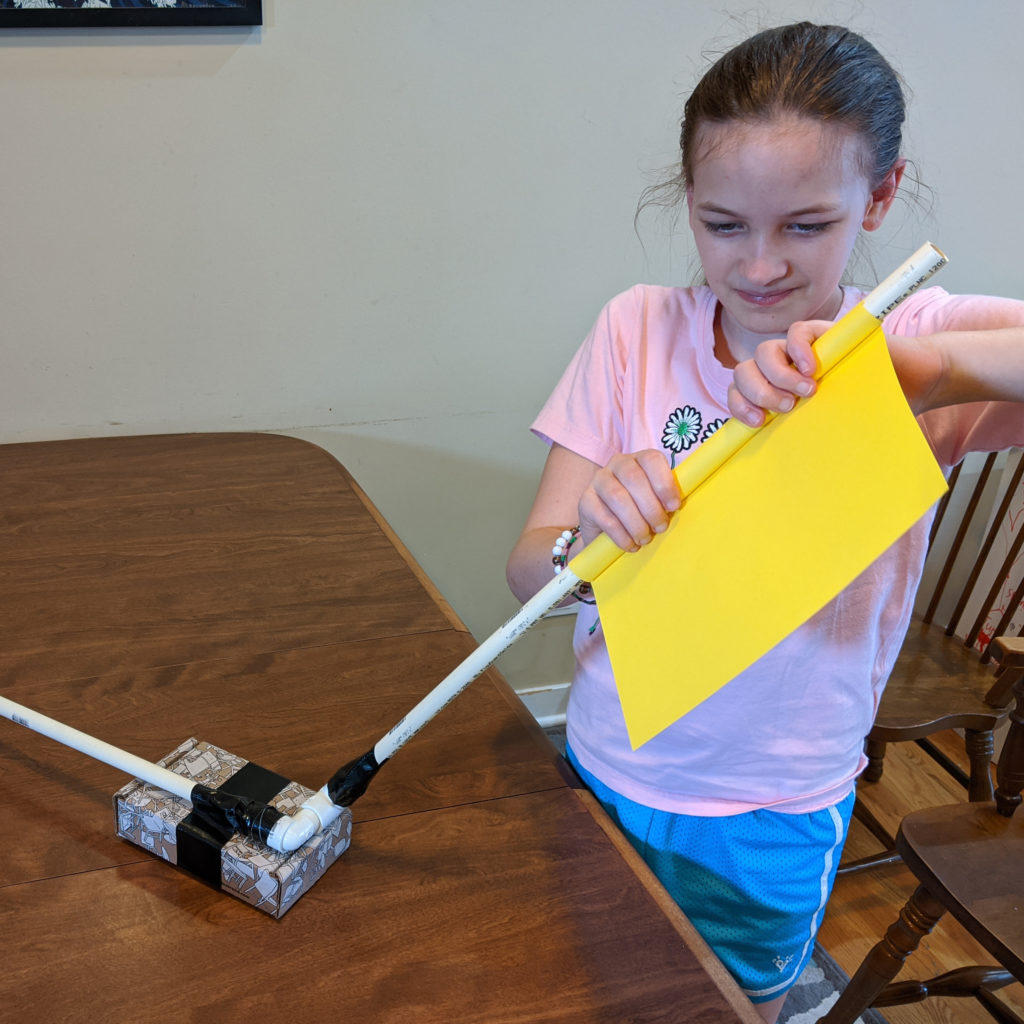
To make the body of the rocket, use the launcher to roll a piece of paper around (or use your spare PVC piece if you have one). You want the rocket to be as close in diameter to the pipe as possible so all the air goes towards launching the rocket rather than leaking out. Tape the rocket closed along the seam.
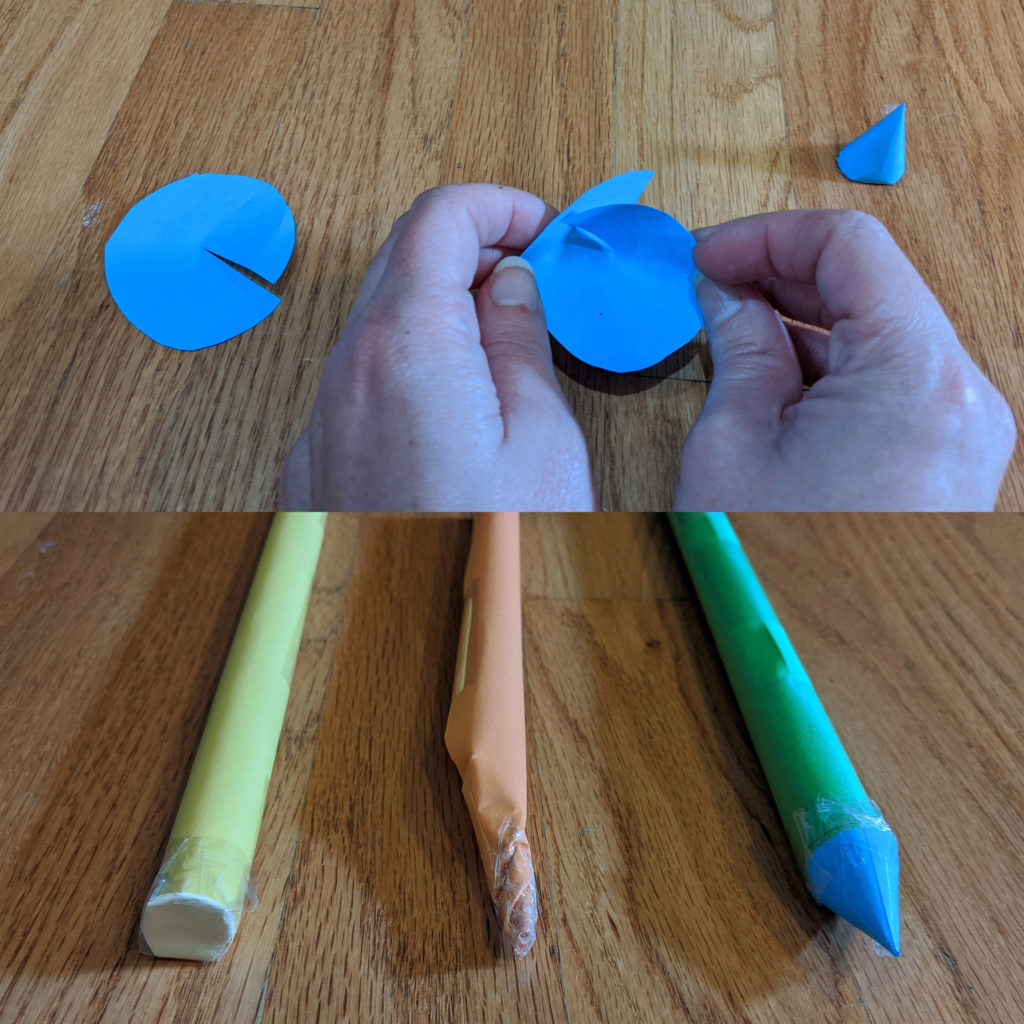
Now, decide how you want to close the top. Some possibilities:
This is a great time for a test flight. It will let you see how your rocket design is progressing and make changes before you get too far along. Time to head outside!
Launching Your Rocket
Safety first! When a real rocket launches, there are many safety precautions. Paper rockets are less volatile, so you just need a few.
1. Make sure no one is in the rocket’s flight path or possible landing zones.
2. Announce that you are launching so no one wanders into the flight path.
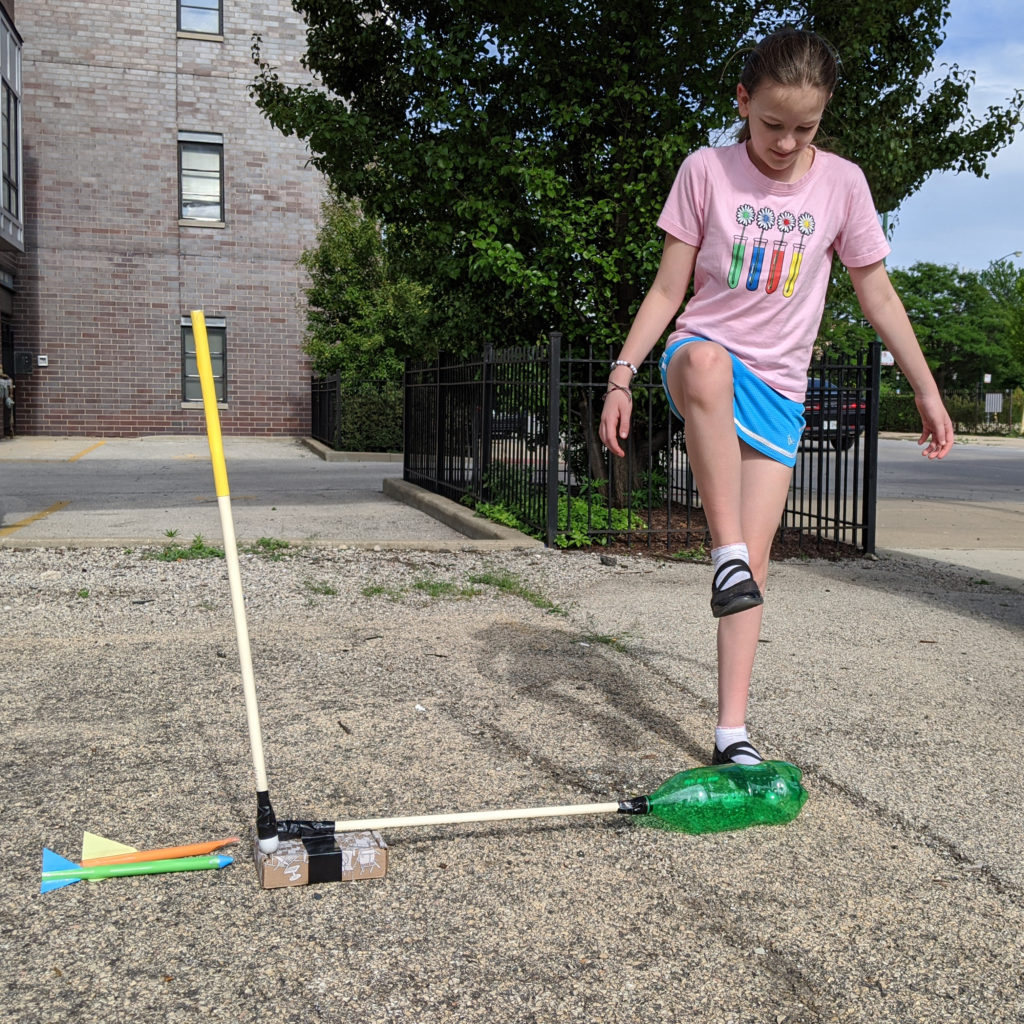
3. Stomp, not jump, on the bottle
Test flight complete and adjustments made? Now it’s time to make one last major design decision: fins, wings, or neither? What do fins or wings do? No better way to find out than to try them! This is also a great time to get creative and draw a logo, put a name on your rocket or maybe even color Captain Adler the Flatstronaut so they can go on a quick trip to outer space!
Tell us about your stomp rocket launch!
Can you get your rocket beyond a certain distance with a payload of 10 paper clips on board? How many more paper clips can you add?
Can you make it spin while flying? Can you make it always spin the same direction?
What launcher angle is best for making your rocket go as far as possible?
How can you get it to fly faster? Or the opposite: how can you make it stay in the air longer?
Share your stomp rocket creations with us on social media by tagging: @AdlerPlanet and #StompRocket